Download from BitTorrent to WebDAV
Started in 1996, Web Distributed Authoring and Versioning, known as WebDAV in short – is a useful medium to share and upload files.
At OffCloud, we support a host of third party remote storages, and one of them is WebDAV support. Running a WebDAV server and looking to transfer Torrent files? This tutorial walks you through the steps to do so, using OffCloud’s web based Torrent client.
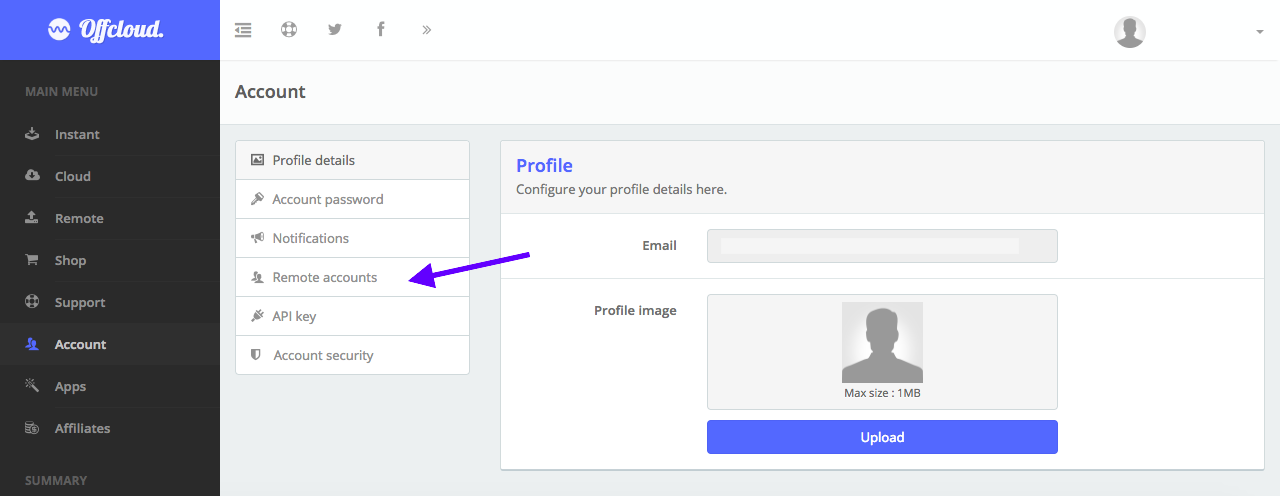
Login to your Offcloud account and navigate to Account tab on the menu. Click on Remote accounts on the Account page to access your third party storage accounts. (1)
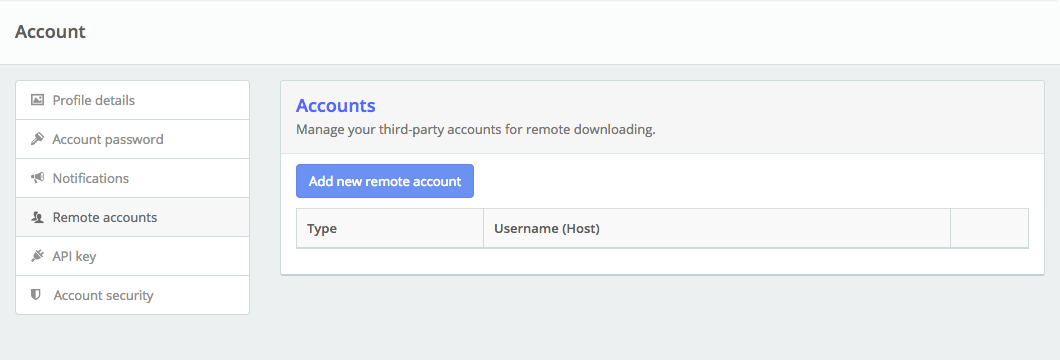
Click on Add new remote account (2)
In the Account type drop-down, select WebDAV and fill up your details, such as host, username and password. (3)
Once you have added your server to Offcloud, it is time now to add a link to the Torrent client.
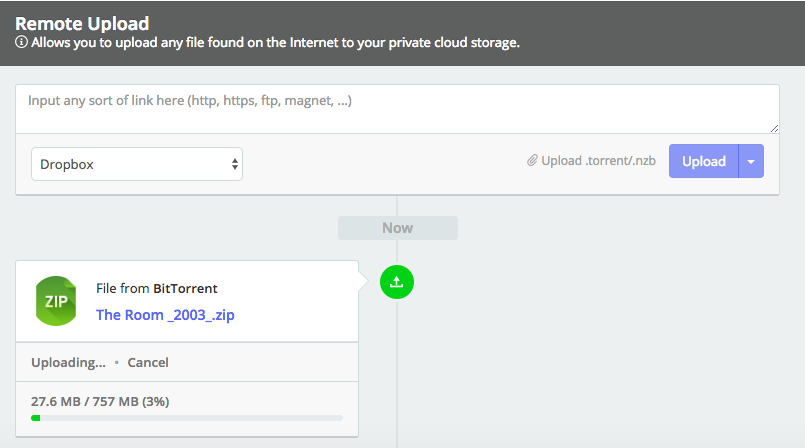
On the menu, click on Remote and input your torrent link in the box. Choose your WebDAV account from the drop-down and then click on Upload to start the download. Note: You can also upload your .torrent/.nzb file by clicking on the text and selecting your .torrent file. (5)
And that’s it. Your download will now start processing and the files from the torrent will be transferred to your WebDAV enabled server. Once successfully downloaded, check your server for the downloaded files (6)


